
First recipe share of 2019, and it's a keeper!
I love crumble. I love cheesecake. And I love the two together! (And by I, I mean we, right?! )
While there are a few steps here for the various layers, you could quite easily make the base and crumble in advance, then put it all together when you're ready to make the cheesecake layer.
A few years ago I would have proudly made the blueberry preserve from scratch, too.
But these days, between work, kids' sports, homework, buying groceries, making meals, etc, etc *
I cut myself some slack.
It is okay to delegate! And I've delegated the preserve-making to Bonne Maman - delicious preserves conveniently found in a jar at the local supermarket 😉
(*etc encompassing everything else we mothers do - too exhausting to list!)

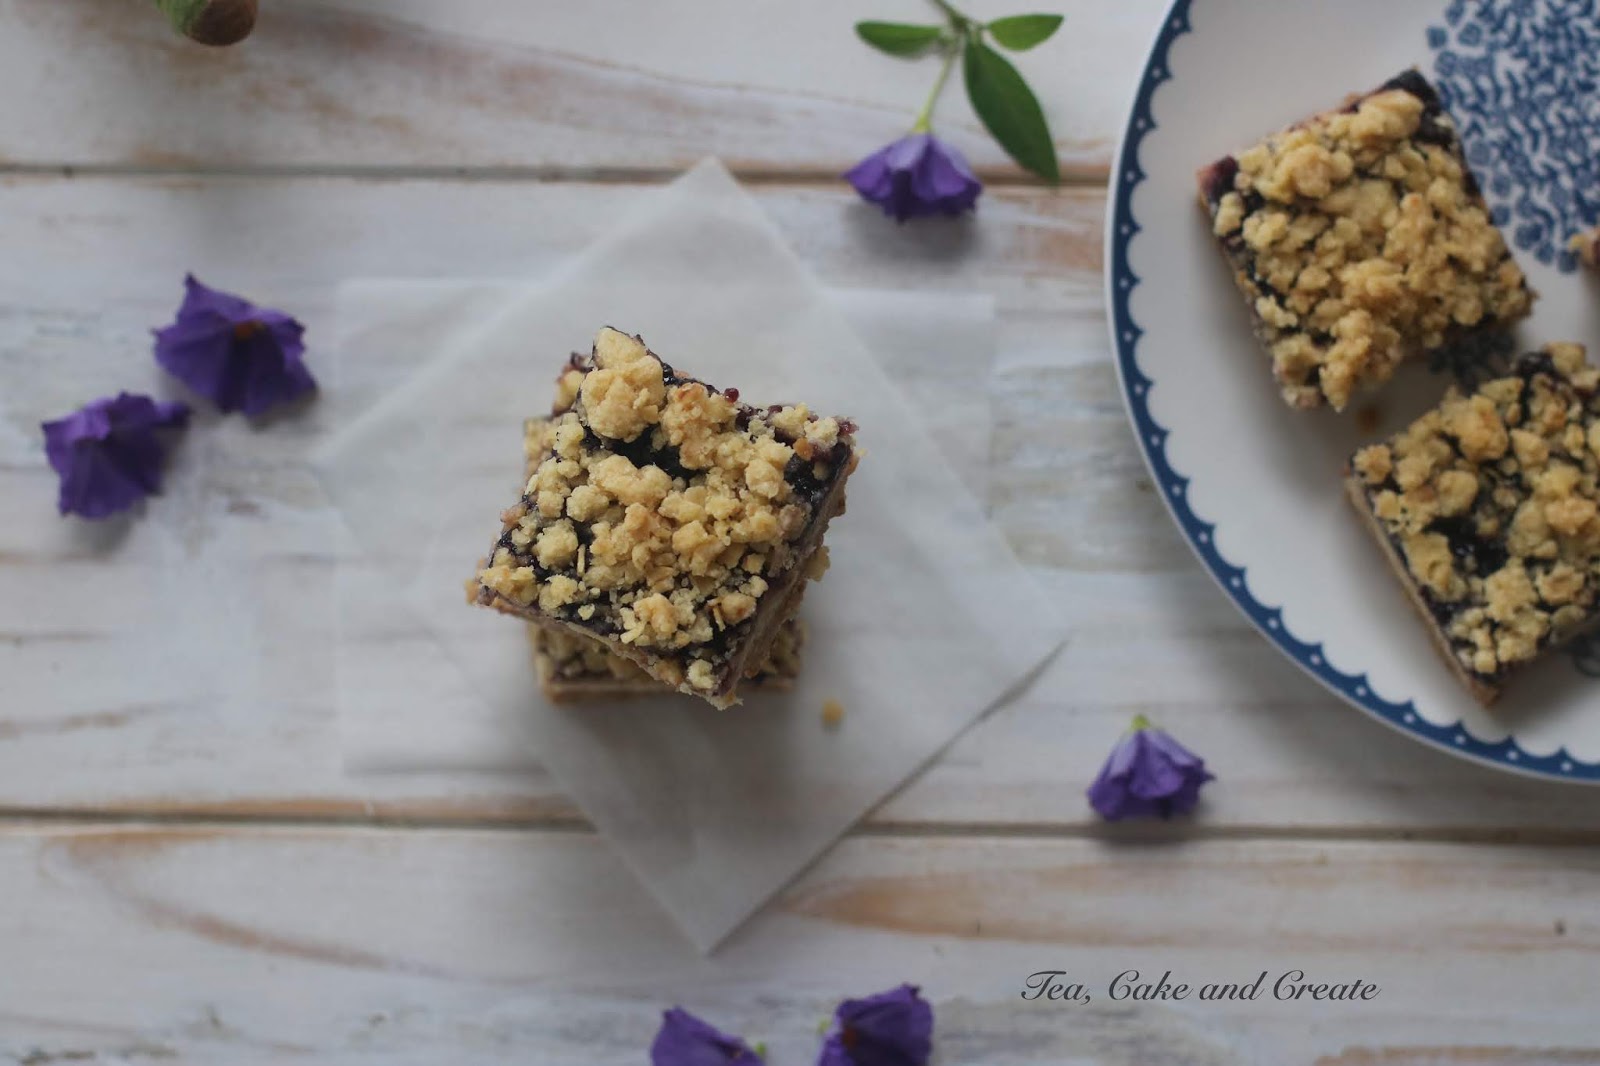
Blueberry Crumble Cheesecake Bars
recipe by Tea, Cake and Create
Line a 22cm square cake pan with a double layer of baking parchment.
Pre-heat the oven to 160'C when starting the cheesecake preparation.
Base
200g cookie crumbs (use a food processor, or smash the cookies with a rolling pin in a ziploc bag)
40g uncooked porridge oats (not instant oats)
80g butter
Melt the butter. Stir in the cookie crumbs and oats. Press into the base of the square cake tin.
Chill in the freezer for 30min.
Crumble
40g uncooked porridge oats (not instant oats)
60g cake flour
40g brown sugar
50g butter, at room temp.
Use a fork, or your fingers, to mix all the crumble ingredients together. Set aside until needed.
2x 230g tubs medium-fat cream cheese
100g (1/2 cup) caster sugar
120ml (1/2 cup) sour cream
2 large eggs
1 tsp vanilla extract
Beat the cream cheese and caster sugar together. Add the sour cream. Mix well.
Beat in the eggs and vanilla extract.
Pour the mixture over the chilled base.
Bake at 160'C for 30 minutes.
Blueberry layer
3/4 cup good quality blueberry preserve
Heat the preserve in a small saucepan to ease the following step:
Spread the layer of blueberry preserve on the cheesecake after it has baked for 30minutes.
Generously sprinkle the crumble on top of the blueberry layer.
Return to the oven and bake for another 30minutes.
The crumble should be light golden brown.
Remove from the oven to cool.
Refrigerate for 2-3 hours before removing from the cake pan and slicing into squares.

Try the jam layer with different preserves - strawberry, raspberry, peach... Whatever you find on the shelf 😉
Happy baking!
xxM


