Wednesday, 20 November 2013

Moustache Cookies on a Stick

There's not much that you need to do to a moustache cookie to make it quirky. I mean, it's a moustache cookie, right - that's enough!


But moustache cookies on a stick - cool dude!

When I make lollipop cookies - AKA cookies on a stick - I do it in one of two ways.
See the one way here, but the other way is even simpler:
Roll out the cookie dough (a little thicker than normal helps), and slide the bamboo skewer 2/3 of the way up, into the dough.
Bake.
That's it.


Happy Movember!
; {)

xxM

Monday, 18 November 2013

Peanut Butter and Syrup Chocolate Brownies

Some weeks just demand chocolate brownies.
It was one of those last week.
By Monday I was already thinking I'd never get on top of things, and then the middle of the week was punctuated (!!) with a fall off the monkey bars and a visit to the orthopaedic surgeon.
So by the time Friday arrived, chocolate brownies were overdue. Well overdue.


In fact, I stepped it up a notch and went for extreme comfort food: combing peanut butter and syrup into a chocolate brownie.

And, let me tell you, there isn't much that these can't fix.
Okay, maybe not a cracked elbow. But after one or two or 6 of these, well… there's not much to complain about any more.


Peanut Butter & Syrup Chocolate Brownies
Recipe by Tea, Cake and Create

Preheat the oven to 170'C
Grease and line a 22cm square brownie pan.

Ingredients:
160g butter
100g white chocolate
200g dark chocolate
70g flour
30g cocoa powder
1tsp vanilla extract
180g caster sugar
3 eggs

1 cup smooth peanut butter
1/2 cup golden syrup
1 egg, lightly beaten                   …. mix all three together


Melt together the butter and chocolate (white and dark) - use a double boiler, or do it slowly on low power in the microwave.

In the bowl of an electric mixer, beat the 3 eggs and sugar together until light and creamy (approx 5-6 minutes on medium-high speed, i.e. 8 on a KitchenAid).

Slowly pour the melted chocolate and vanilla into the egg mixture, beating on low speed.

Sift in the flour, cocoa and salt. Mix until combined.

Pour mixture into brownie pan.
Place spoonfuls of the peanut butter mixture on top, and gently swirl with a knife to marble it into the brownie mixture.

Bake at 170'C for 40- 45 min, until a skewer inserted near the centre comes out with a few sticky crumbs attached.

Leave to cool completely before cutting into squares.


There, all better.
: )

xxM

Wednesday, 13 November 2013

Caramel Candy Cupcakes


When you hear the words cream and caramel together, you know it's going to be something good, right? So, how about cream, caramel and caramel creme candies?!
Hmmmn- mmn!

I had something completely different in mind for tea for the class on Saturday. But when I saw creme caramel candies in the aisle of temptation at Woolworths, they whispered sweet things to me, and this is the result : )

Caramel Candy Cupcakes
Recipe by Tea, Cake and Create

Pre-heat the oven 175'C
Line muffin tins with cupcake cases (x15)

Ingredients:

140g caster sugar
180g cake flour
60g butter, at room temp
1 cup (250ml) sour cream
2 XL eggs
1/2 tsp baking soda
1 1/2 tsp baking powder
1/2 tsp salt
1 tsp vanilla extract (or 8-10 drops of Vanilla Girl vanilla)
1 medium orange - zest only.
1 cup chopped caramel creme candies


Sift the dry ingredients into the bowl of a mixer.
Add the butter and orange zest, and beat on low speed until the mixture resembles breadcrumbs.

In a small bowl, whisk together the sour cream and eggs.
Add this to the flour mixture, and mix until just combined.

Divide the batter evenly between the prepared cupcake cases, then scatter a few chunks of caramel creme into each one.

Bake for 15-18minutes until a skewer comes out with just a few moist crumbs attached.
Remove from the oven and the muffin trays, and allow to cool before icing.


Caramel Cream Icing

40g icing sugar, sifted
100g butter
1 tub (250g) cream cheese*
1/2 cup (125ml) caramel
1 tsp vanilla extract

(*choose a "dense" kind of cream cheese, such as Lancewood or Woolworth's brand. I generally use low fat cream cheese, but the medium fat varieties are also a good option.)

Beat the butter until soft and pale.
Sift in the icing sugar. Beat together until smooth.
Mix in the caramel and vanilla, then lastly the cream cheese.
Beat until just mixed. (Don't over-mix.)


Pipe onto cooled cupcakes. Decorate with a drizzle of caramel, some more chunks of caramel candies and orange zest.


Go on - indulge yourself!
: )

xxM

Sunday, 10 November 2013

Dog Silhouette Cookies


So, are you are dog-person? Cat-person? Both? Neither?
Currently I'm a no-pet person. Not because I don't like them - we always had pets growing up (everything from the finned to the four-legged varieties), but now that I'm the grown-up, I just don't feel up to the task of cleaning cages or pooping scoop.
My poor children make pets out of rocks and sticks - and strangely a magnifying glass (called Orchin) - instead.
I actually have all the paraphernalia ready and waiting for a kitten. But getting the kitten is still on the to-do list. (And I'm planning on getting it from a rescue centre, so the daily guilt of not-having-done-it-yet is building up!)

Anyway, that's got nothing to do with making these cookies, except that they share the same subject matter.

When I first saw Rosey SugarArt's dog silhouette cookies, they were put on my to-do list.
And when I bought poodle, dachshund and schnauzer cookie cutters, they were also put on my to-do list.
Undone to-do lists make me uncomfortable, so I finally did:


Flood square cookies with brightly coloured royal icing.
Allow to dry completely. (24hrs)
Using the dog cookie cutters, outline their pedigreed shapes onto the cookies with an edible marker/ non-toxic graphite pencil.


Use black icing to outline and flood the dog-silhouette.


Couldn't be easier, right?


Obviously you could also just print templates for the dog shapes. But I'm sure I'll have a reason to use my dog cookie cutters again sometime. But for now they're off my to-do list.
*yay*.
 But the kitten is not *sigh*.

xxM

Saturday, 2 November 2013

Orange-Blossom-Honey Cupcakes

I follow so many bakers and decorators from the Northern Hemisphere that it's sometimes hard to dis-entangle my thought process from their seasonal influences.
My Facebook and Blogger feeds are currently abuzz with all sorts of delicious apple and pumpkin creations: hearty autumn (fall!) treats that are so tempting to try.
(In fact, I've already succumbed to temptation - you may remember my butterscotch apple cake from a couple of weeks ago.)

 But today's recipe is veritably vernal

ver·nal
ˈvərnl/
adjective
  1. 1.
    of, in, or appropriate to spring.
    "the vernal freshness of the land"

: )

The inspiration came from a jar of orange blossom honey that I bought a few weeks ago, then promptly forgot about until my husband took it out the pantry to use on toast. What was he thinking?! It was destined for greater things!

So, this one's for us - Southern Hemisphere friends.
But you're welcome to try it in the Northern Hemisphere - just remember to stir the batter counter-clockwise ; )


Orange Blossom Honey  Cupcakes
Recipe by Tea, Cake & Create


Preheat the oven to 180'C
Line a 12 hole muffin pan with cupcakes cases.

Ingredients:
125g butter
90g caster sugar
80ml orange blossom honey
1tsp vanilla extract
2 large eggs
120g flour
30g ground almonds
125ml sour cream
Zest of one medium orange
30ml fresh orange juice

Sift together the flour, ground almonds and baking powder.

In the bowl of a mixer, cream the sugar and butter. With the mixer on low speed, add the eggs 1 at a time; scrape down the sides of the bowl after each addition.
Mix in the honey, vanilla and orange zest.

Add 1/3 of the dry ingredients, then the orange juice. Add another 1/3 of the dry ingredients, then the sour cream, followed by the last of the dry ingredients. Mix briefly.

Spoon the batter into the prepared cases and bake for 18-20minutes - until a skewer comes out with just a few moist crumbs clinging to it.


The honey and orange flavours are so delicious and fresh that you don't want to overwhelm this cupcake with a too sweet, too heavy icing. So, swiss meringue buttercream is the perfect topping.


Vanilla Swiss Meringue Buttercream

5 egg whites
1 cup white sugar
1tsp vanilla extract (or 8-10 drops of Vanilla Girl vanilla extract)
300g butter at room temp, cut into cubes.


Put the egg whites and sugar into a mixing bowl, and place that over a saucepan of simmering water. The bottom of the mixing bowl must not be in contact with the water, and the water should just be simmering.

Whisk constantly, until the sugar granules have dissolved and the mixture is hot to touch.

Move off the stove and to the mixer.
Using the whisk attachment, whip until it forms a thick and glossy meringue.

When the mixing bowl feels neutral to touch, change over to the paddle attachment and add the butter one cube at a time, beating on low-medium speed.
It may curdle, but just keep whipping until it reaches a satiny smooth consistency and holds its shape. Add the vanilla extract.

(If you are having SMB issues, see this post by Sweetapolita)

Pipe onto cooled cupcakes.


Happy baking!

xxM

Wednesday, 30 October 2013

Fondant Ruches and Ruffles

One of the reasons I like vintage and shabby-chic is that it lets me get away with (I confess)... shabby?!


really admire cake decorators who produce works of flawless perfection.

I'm thinking about 2 of my favourite cake-godesses: Jessica Harris (jessicakesblog.blogspot.com) and Sharon Wee (weelovebaking.blogspot.com), to name but two.
But I'm also completely intimidated by them, and just don't know if I've got such precision in me - insert sad face here.
So, if a project calls for lots of ruches and ruffles, I'll tackle it - knowing that I'll probably be able to hide the inevitable imperfections  - insert happy face here!


I based these (very do-able for mere mortals like me) ruffled flowers on a tutorial by Melissa Diamond over at mycakeschool.com  http://www.mycakeschool.com/blog/pretty-pink-flower-cake/

Happy ruffling!

xxM


Tuesday, 29 October 2013

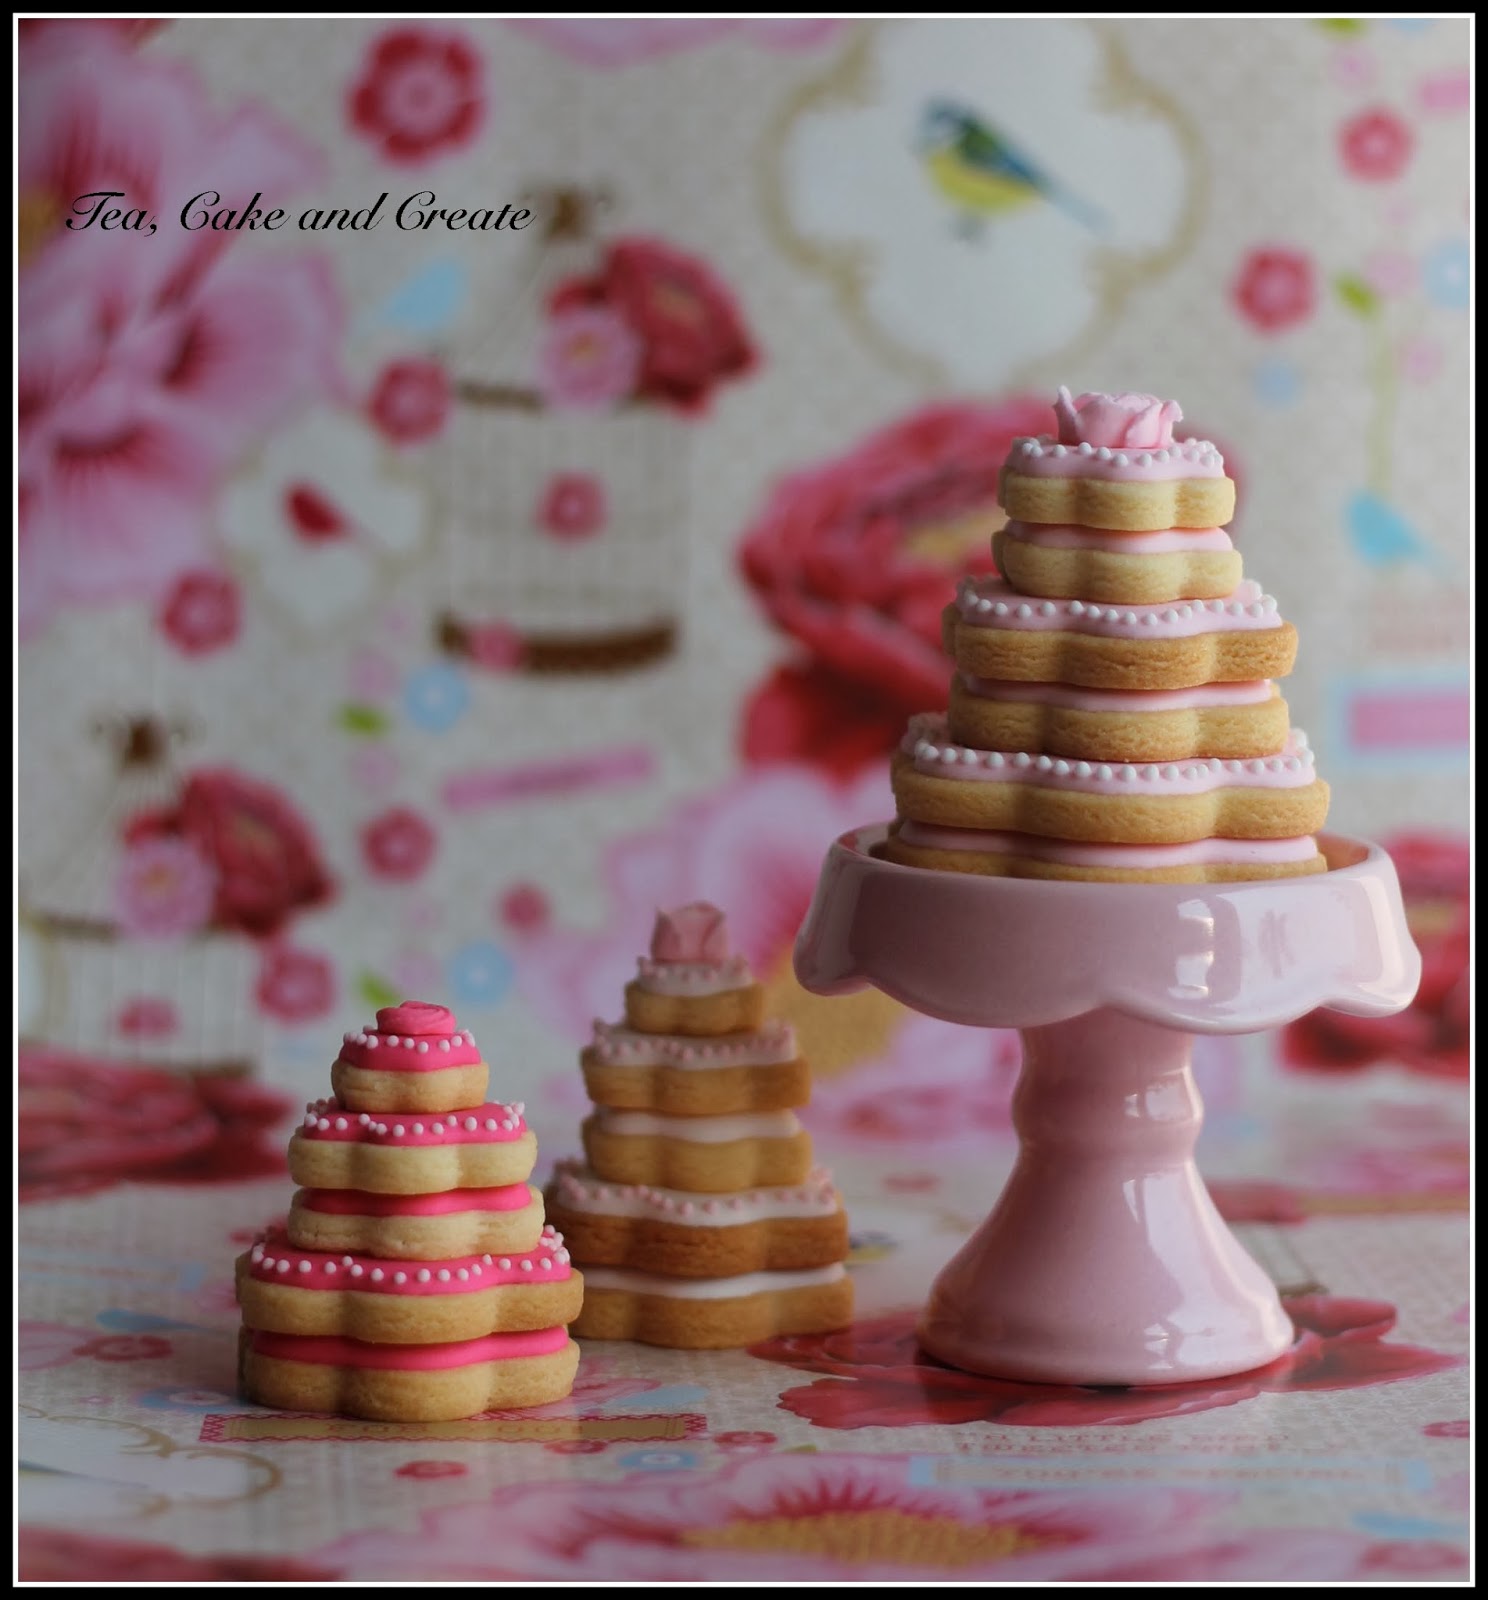
Tiered Cookies (Cookie Stacks)


First, I'll make a quick trick brick stack

You'll have seen similar cookie stacks before, I'm sure. There are a number of variations out there. But aren't they all gorgeous in their simple perfection?
Mine aren't perfect - far from it. But the idea - oh, I wish I could come up with such things! Maybe one of these days. Until then, I'll blame my be-fuddled brain and its need to borrow inspiration on years of sleep deprivation and too much Dr Seuss...
; )


Then I'll make a quick trick block stack


Anyway - you too can make a quick trick cookie stack....


You'll need:
Paired biscuits in 3 sizes
Royal icing
Royal icing or gumpaste decorations

Outline and flood the biscuits - pay attention to the edge, as you want to outline relatively close to the edge but not flood over it.
Allow to dry.
Stack once dry - use a blob of icing in between the tiers to glue them together.
Pipe on some dots.
Finish off with a pretty iced flower (or gumpaste flower) on top.


You can make a quick trick chick stack

You can make a quick trick clock stack


Happy creating (or re-creating!)

xxM

(With sincere apologies - and appreciation! - to Dr Seuss, Fox in Socks)